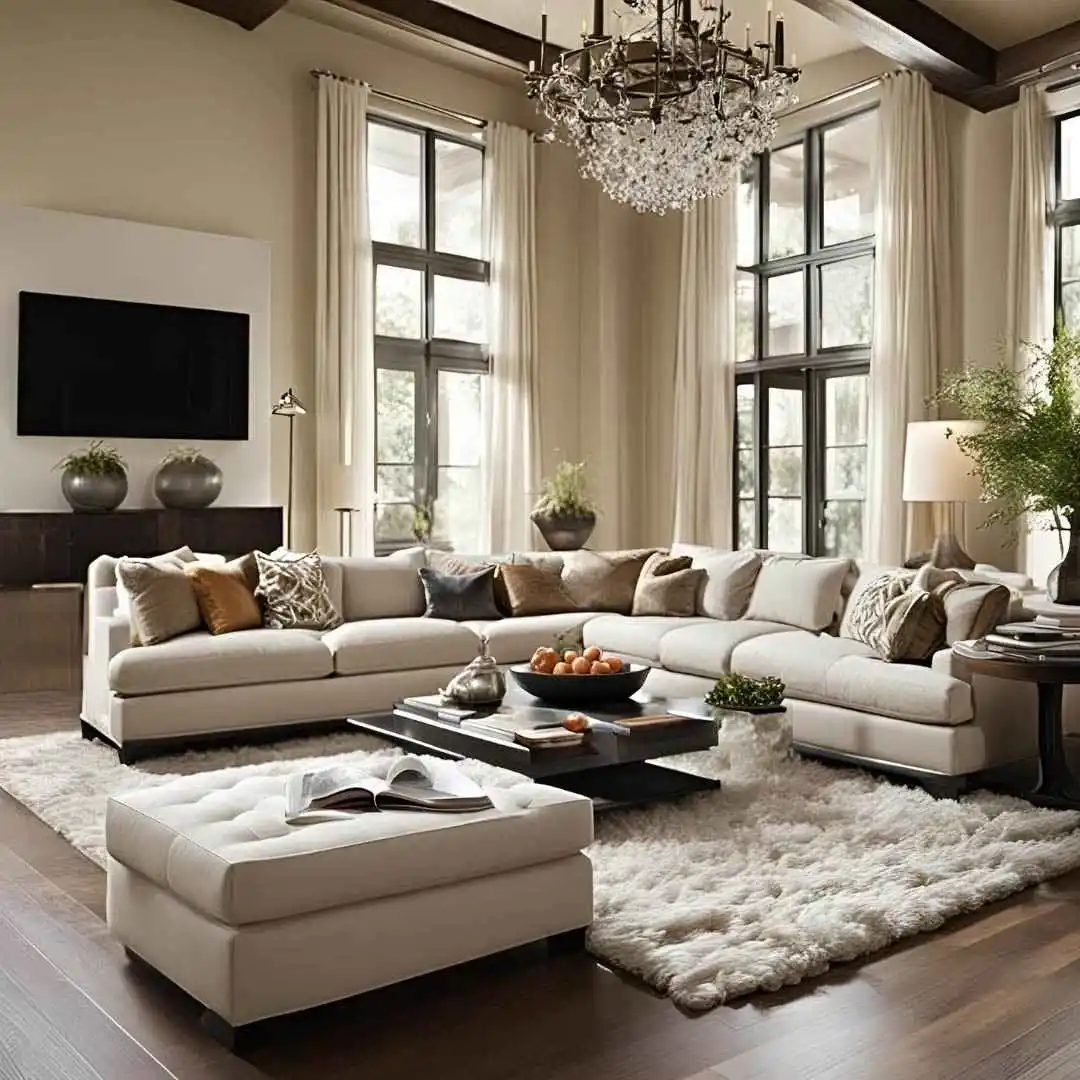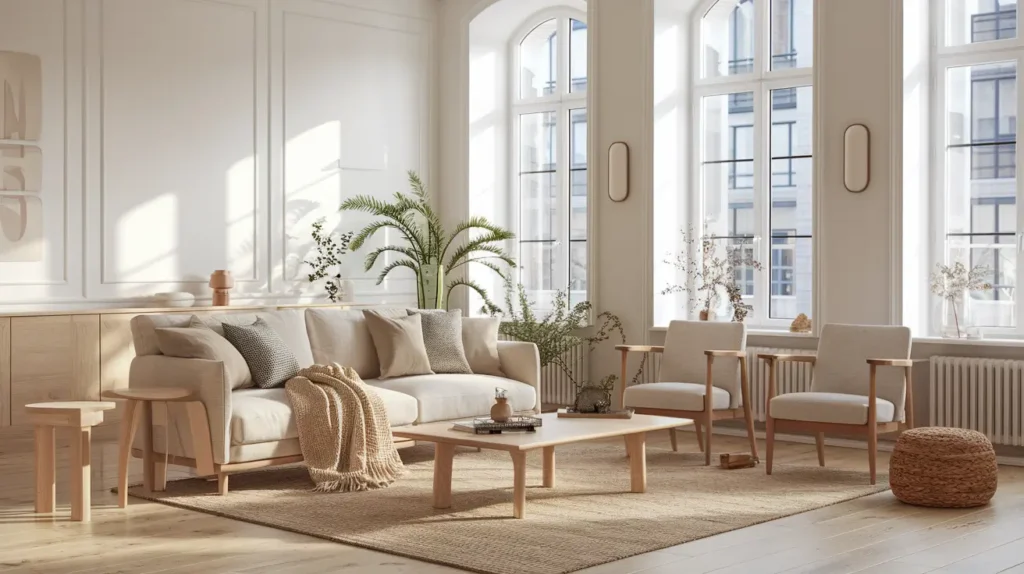
There are two ways to approach a false ceiling. One: install the gypsum board, then figure out where to put the lights. Two: design the ceiling and the lights as a single integrated system from the start. Every ceiling Suntew installs is approach two. The difference in the final result is visible the moment you walk into the room. Approach-one ceilings have visible patchwork around light positions, drivers in inconvenient locations, and cove profiles that are too wide or too narrow for the LED strip inside. Approach-two ceilings look like they were designed.
How Much Does a False Ceiling Cost in Bangalore?
| Ceiling Type | Cost per sq ft | Typical Room Total |
|---|---|---|
| Flat gypsum board | Rs.60–85 | Rs.10,000–20,000 |
| Gypsum with perimeter cove | Rs.80–110 | Rs.14,000–26,000 |
| Two-tier (border + sunken centre) | Rs.110–160 | Rs.20,000–40,000 |
| POP decorative ceiling | Rs.90–140 | Rs.15,000–35,000 |
| Wood slat / slatted ceiling | Rs.150–280 | Rs.27,000–70,000 |
| LED cove strip (per linear ft) | Rs.150–400 | Included in above |
3-room apartment ceiling typically Rs.75,000–1.5 lakhs complete including LED lighting installation.
Gypsum or POP — Which Is Right for Your Home?
Gypsum board is factory-manufactured in standard 8×4 foot sheets and fixed to a metal grid suspended from the slab. Faster to install (3–5 days for a standard room versus 7–10 days for POP). Significantly lighter, important for old buildings and high-rise apartments with weight constraints. More dimensionally consistent, no shrinkage or cracking from drying. Better for AC homes because the cavity can be properly insulated and duct-routed. Right choice for 90% of contemporary Bangalore apartments.
POP (Plaster of Paris) is applied wet over a wire mesh frame directly on site. This allows unlimited custom shapes: smooth curves, arched cutouts, ornate cornices, deep three-dimensional relief patterns, and smooth transitions between ceiling and wall. No board joints visible. Right choice for traditional homes, heritage properties, and high-end decorative projects where the budget and timeline accommodate the extra work. Mangalore's traditional homes often use POP for decorative ceiling borders that reference Kerala and Tulu Nadu architectural traditions.
Room-by-Room Design Recommendations
Living room: A two-tier ceiling, with a raised border around the perimeter and a central panel stepped down 3–4 inches, creates the most dramatic transformation in any living room. Cove LED in the border channel. 2–4 recessed downlights in the central panel on a separate circuit. The border can be as narrow as 18 inches or as wide as 3 feet depending on room proportions. For a 15×12 foot living room: Rs.35,000–55,000 for the ceiling, Rs.12,000–22,000 for the LED cove.
Bedroom: A simple single-level gypsum ceiling with a perimeter cove channel at 8.5–9 feet. 3000K warm white LED inside the cove. 2–3 recessed downlights on a separate circuit for getting dressed and reading. Ceiling fan compatible. Essential for Bangalore's climate. For a 12×12 foot bedroom: Rs.18,000–28,000 including cove.
Kitchen: Flat gypsum ceiling with a dedicated LED panel directly over the countertop work zone (4000K, bright enough for cutting and cooking safely) and ambient cove around the perimeter at 3000K. Waterproof fittings specified within 600mm of any sink or wet area. For a standard Bangalore kitchen: Rs.15,000–22,000.
Dining area: A ceiling frame with a cutout for the pendant light over the dining table creates a deliberately framed, designed look rather than a light hanging from a naked ceiling point. The frame: Rs.12,000–18,000. The pendant is selected separately based on style and budget.
How Do You Get LED Cove Lighting Right?
The cove channel width, the LED strip type, and the mounting angle determine whether the light output is uniform and beautiful or patchy and visible. Suntew specifies: channel minimum 80mm wide (narrow channels create visible hotspot-to-dark gradients), COB (Chip-on-Board) LED strips over SMD (COB has no visible dot spacing), LED strips mounted angled toward the centre of the ceiling rather than flat, and LED drivers located in an accessible panel, not buried in the cavity and inaccessible for future replacement.
The colour temperature recommendation: 3000K warm white for living rooms and bedrooms. 4000K neutral white for kitchens, study rooms, and workspaces. 6500K cool white should not appear in any home living space. It is appropriate for commercial and clinical environments, not residential.
Is False Ceiling Material Actually Fire-Safe?
Gypsum board is non-combustible. It's roughly 20% chemically bound water by weight, and that water has to boil off before the material itself can burn, which is why gypsum boards slow fire spread rather than feeding it. This isn't a marketing claim. It's covered under IS 2095, the Bureau of Indian Standards specification for gypsum plaster boards, which sets requirements for material composition and fire performance. When you're comparing quotes, ask whether the board is IS 2095 compliant. Cheap unbranded board sometimes isn't, and you won't be able to tell the difference just by looking at it.
POP doesn't carry the same standardised fire-rating framework in residential use, since it's a wet-applied plaster rather than a manufactured board, but properly cured POP over a metal mesh frame is also non-combustible in practice. What actually matters for fire safety in either material is the electrical work hidden above the ceiling: LED drivers, junction boxes, and wiring should sit in accessible panels, not sealed into the cavity, so a fault can be found and fixed without cutting the ceiling open.
Does false ceiling installation need GST or civic approval?
False ceiling work as part of an interior fit-out doesn't need separate civic permission from BBMP for most residential flats, since it's non-structural work. What it does carry is GST, like any other interior works contract in India. Confirm with your contractor whether their quoted per-sq-ft rate already includes it, since rates and classifications are set out on the CBIC GST portal and do get revised periodically.
Where approval actually matters is if your building's sanctioned plan restricts changes to slab height or structural elements, rare for a standard false ceiling, but worth a quick check with your apartment association if you're planning anything beyond a standard suspended ceiling.
What Mistakes Should You Avoid With False Ceilings?
- Going too low on ceiling height. Below 8 feet, a room starts to feel compressed no matter how good the design is. Bangalore's standard 10-foot slab gives you room for an 8.5–9 foot ceiling comfortably. Don't let a contractor talk you lower just to fit a deeper cove.
- Choosing the LED strip before the channel is designed. The order should be channel width first, then LED type. Do it backwards and you end up with visible hotspots or a strip that physically doesn't fit.
- Sealing the driver box into the ceiling cavity. LED drivers fail eventually. It's a matter of when, not if. If it's not in an accessible panel, replacing it means cutting into a finished ceiling.
- One ceiling design for every room. A kitchen needs task lighting over the counter; a bedroom needs a fan-compatible flat zone; a living room can carry more drama with a two-tier design. Copying the same profile into every room usually means it's wrong for at least two of them.
- Skipping waterproof fittings near wet zones. Any downlight within 600mm of a kitchen sink or bathroom needs a moisture-rated fitting. It's a small cost difference and it matters within the first monsoon.
How Long Does Installation Actually Take, Day by Day?
For a standard 3-room apartment, here's roughly how the 12–18 days break down. Day 1–2: site measurement, metal grid marking, and electrical coordination. This is where the ceiling and lighting plan get finalised together, not separately. Day 3–6: grid installation and gypsum board fixing, room by room. Day 7–9: joint finishing, taping, and the first coat of putty. This stage needs time to dry properly, and rushing it is the single biggest cause of visible seams later. Day 10–13: LED cove wiring, driver installation, and downlight fitting. Day 14–16: final putty coat, sanding, and priming. Day 17–18: painting and final electrical testing. Weather and drying time can push this by a few days either way, especially during Bangalore's monsoon when putty doesn't cure as fast.